Snip Tests to Determine Development Time
Snip or Clip test is an easy, quick and fairly accurate way to determine development time for a combination of film, developer and temperature. There are several known variations of the method ranging from somewhat esoteric to scientific. This post is a step-by-step instruction for performing repeatable and traceable snip tests. The technique has been trialled with multiple films and at different temperatures from normal (18-24 °C) to very low (4-6 °C) and always produced consistent results.
The Method
The method consists in cutting a small strip of unexposed film (obviously, in total darkness), exposing it to a very high intensity light and developing it by gradually submerging into a developer solution for a certain period of time, usually in 1 minute steps. The film is then washed, fixed and dried as usual. Since the film emulsion has already been fully exposed the process can be done under normal light.
To understand the principle of this method we need to look at the characteristic curve of the film, see the Figure below. It shows the increase in the negative density with the increase of exposure, both expressed in logarithmic units. Most film photographers would be familiar with characteristic curves, though for practical applications we are only concerned with the section of the curve that includes the so-called linear part, the region before it (the "toe") responsible for rendering of shadows, and immediately after (the "shoulder") which determines the level of details retained in the highlights.
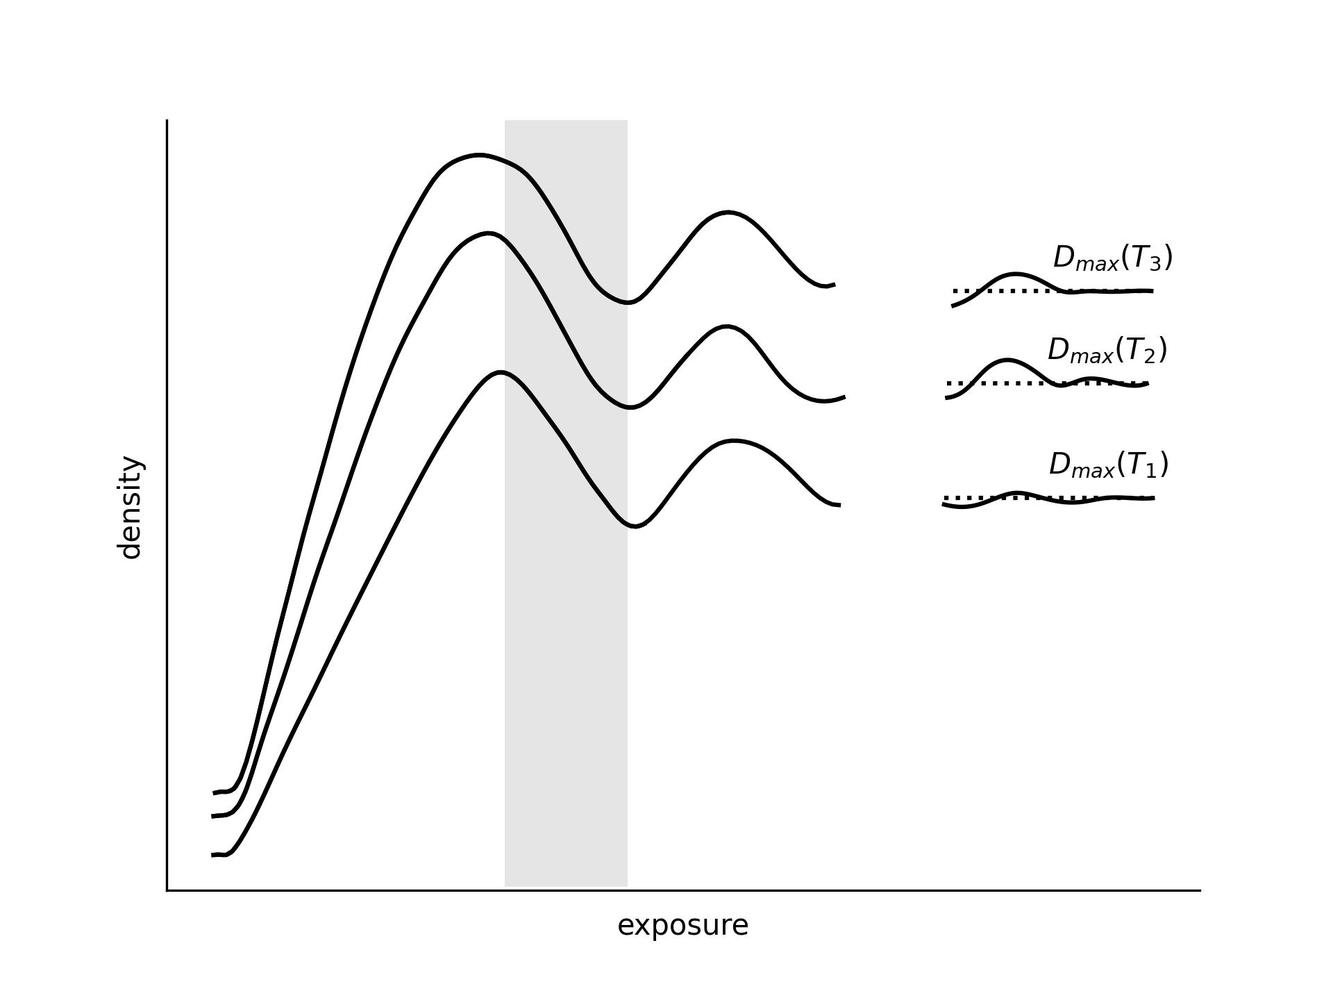
If we continue increasing the exposure past the shoulder region we will observe a peak in the negative density followed by the "solarization" region (shaded in the Figure) where the density starts to decrease with increase in exposure. A negative film exposed in this region and developed normally will produce a positive image of the scene similar to a slide. Further increase in exposure produces a series of peaks and troughs of decreasing magnitude until the curve flattens out. Our goal is to give the strip of film enough exposure to end in this flat part of the curve. One minute exposure under full sunlight is usually sufficient.
If we now start developing the strip and increase development time we would observe an initial increase in the negative density until it reaches its maximum. At this point all sensitized silver grains have been converted to metallic silver. Apart from development time the maximum negative density depends on the film emulsion and developer.
Typically, development time is selected to achieve certain contrast index (or gamma) of the film, rather than maximum negative density. These two values are interrelated and the contrast index vs. development time relationship can be established for each combination of film and developer. Obviously, we would not be doing a snip test had we had this data. In practice, development time which results in maximum negative density between 1.7 and 2.0 was found to produce printable negatives.
Tools and materials
No special equipment or materials are required apart from those that most photographers have in their darkrooms. For the snip test you will need: a glass stirring rod, scissors, masking tape, ink pen or pencil, a small ruler, a small piece of cardboard or plywood with a hole cut to fit the stirring rod. A retort stand and a laboratory jack stand make the job easier but a cloths peg would work equally well.
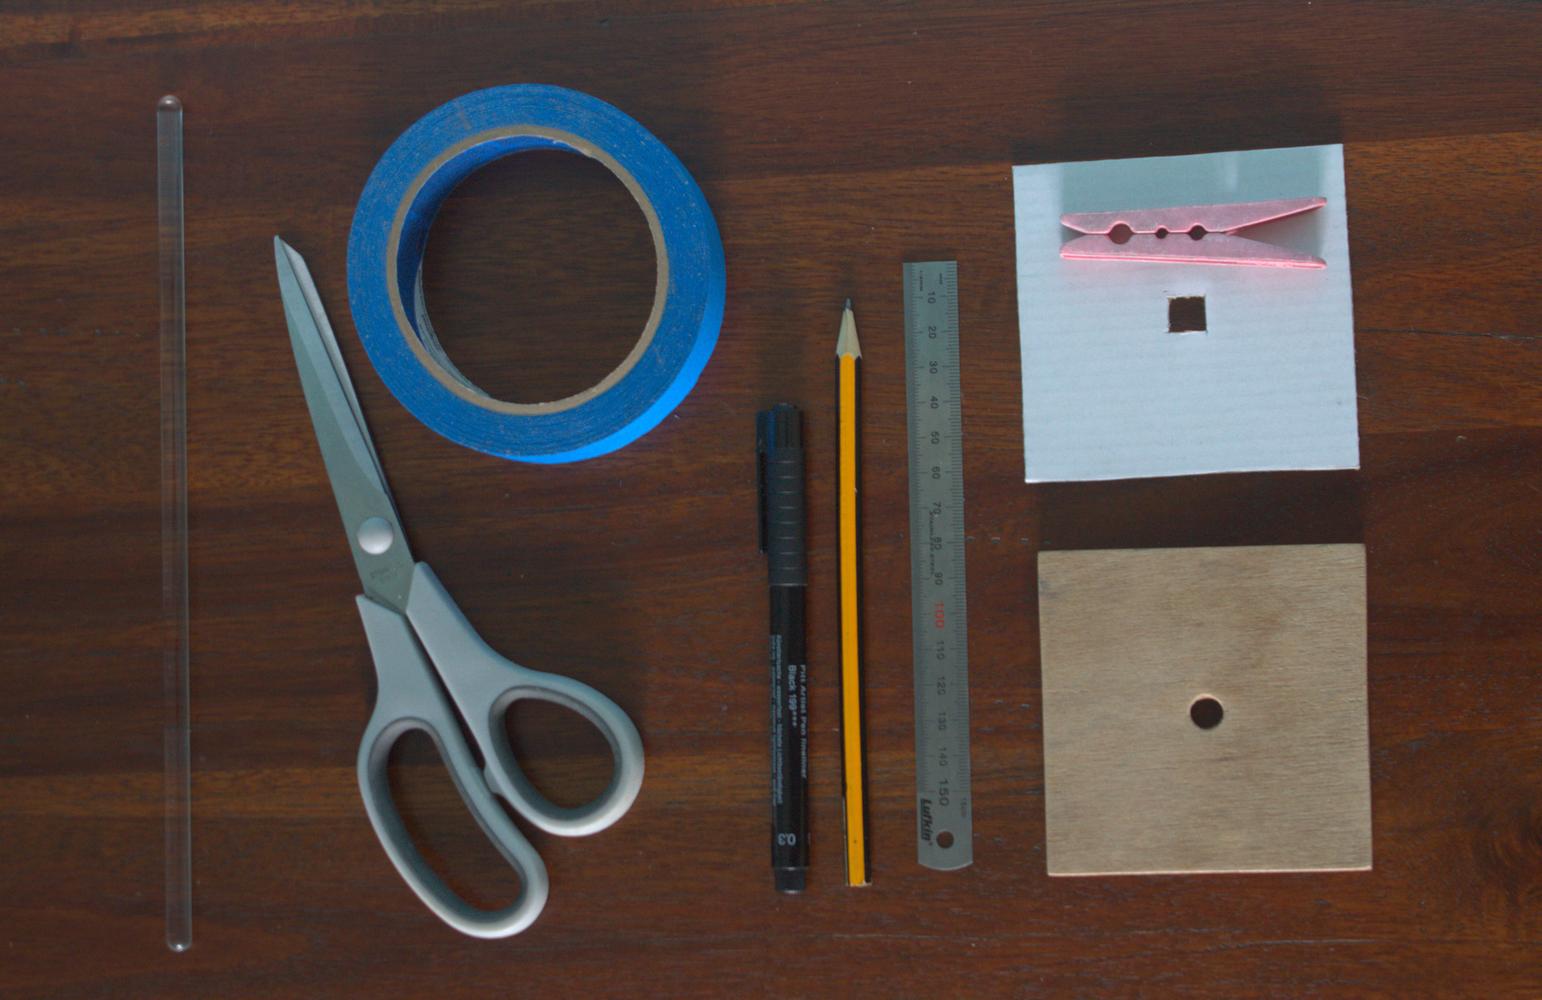
You will also need your usual film developing equipment: a glass lab bottle (or jar) for the developer, a thermometer, a timer and containers for the stop (or wash) bath and fixer. The chemistry includes developer, stop or wash bath if you use it and fixer. Optionally, a small amount of 40% to 70% ethanol solution could be used to speed-up drying.
Preparation
First, you need to cut about 6 mm wide strip from the end of the film. With roll films this has to be done in complete darkness (you can make the task easier by making a small template out of cardboard). 35 mm film might be too narrow if you want to test more than 4 or 5 development times. In that case you can cut two strips or make a longer strip cutting the film length-wise.
Then, expose the strip to full sunlight for a couple of minutes.
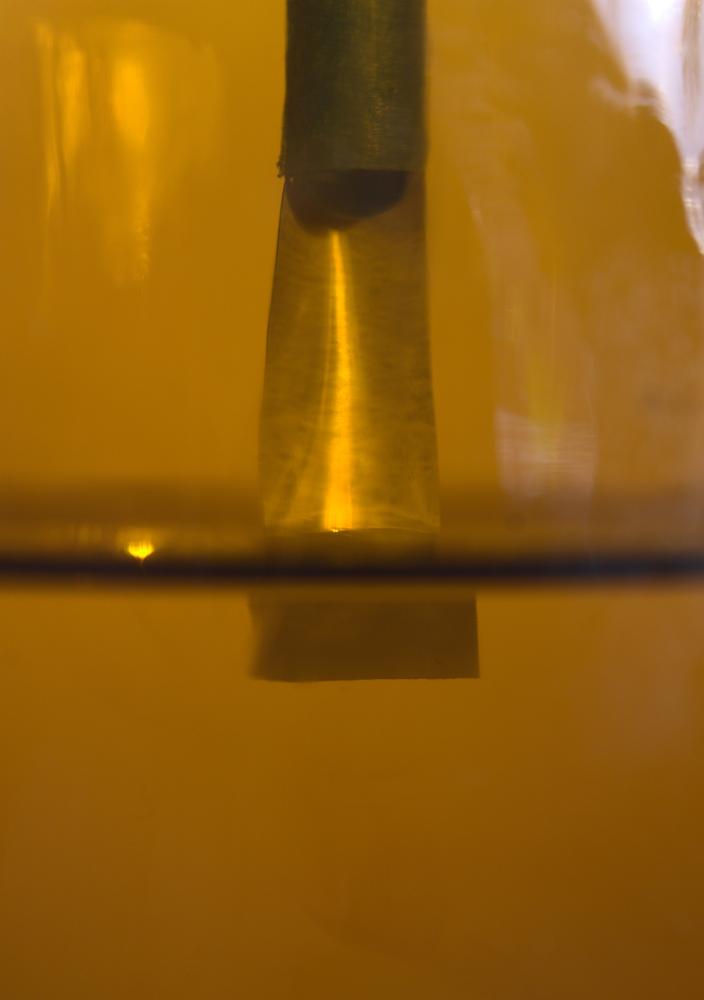
Attach the exposed strip to the glass rod using masking tape as shown in the photos. With the film secured to the rod, wrap a longer piece of masking tape around the rod length-wise, so we can put depth marks on the rod.
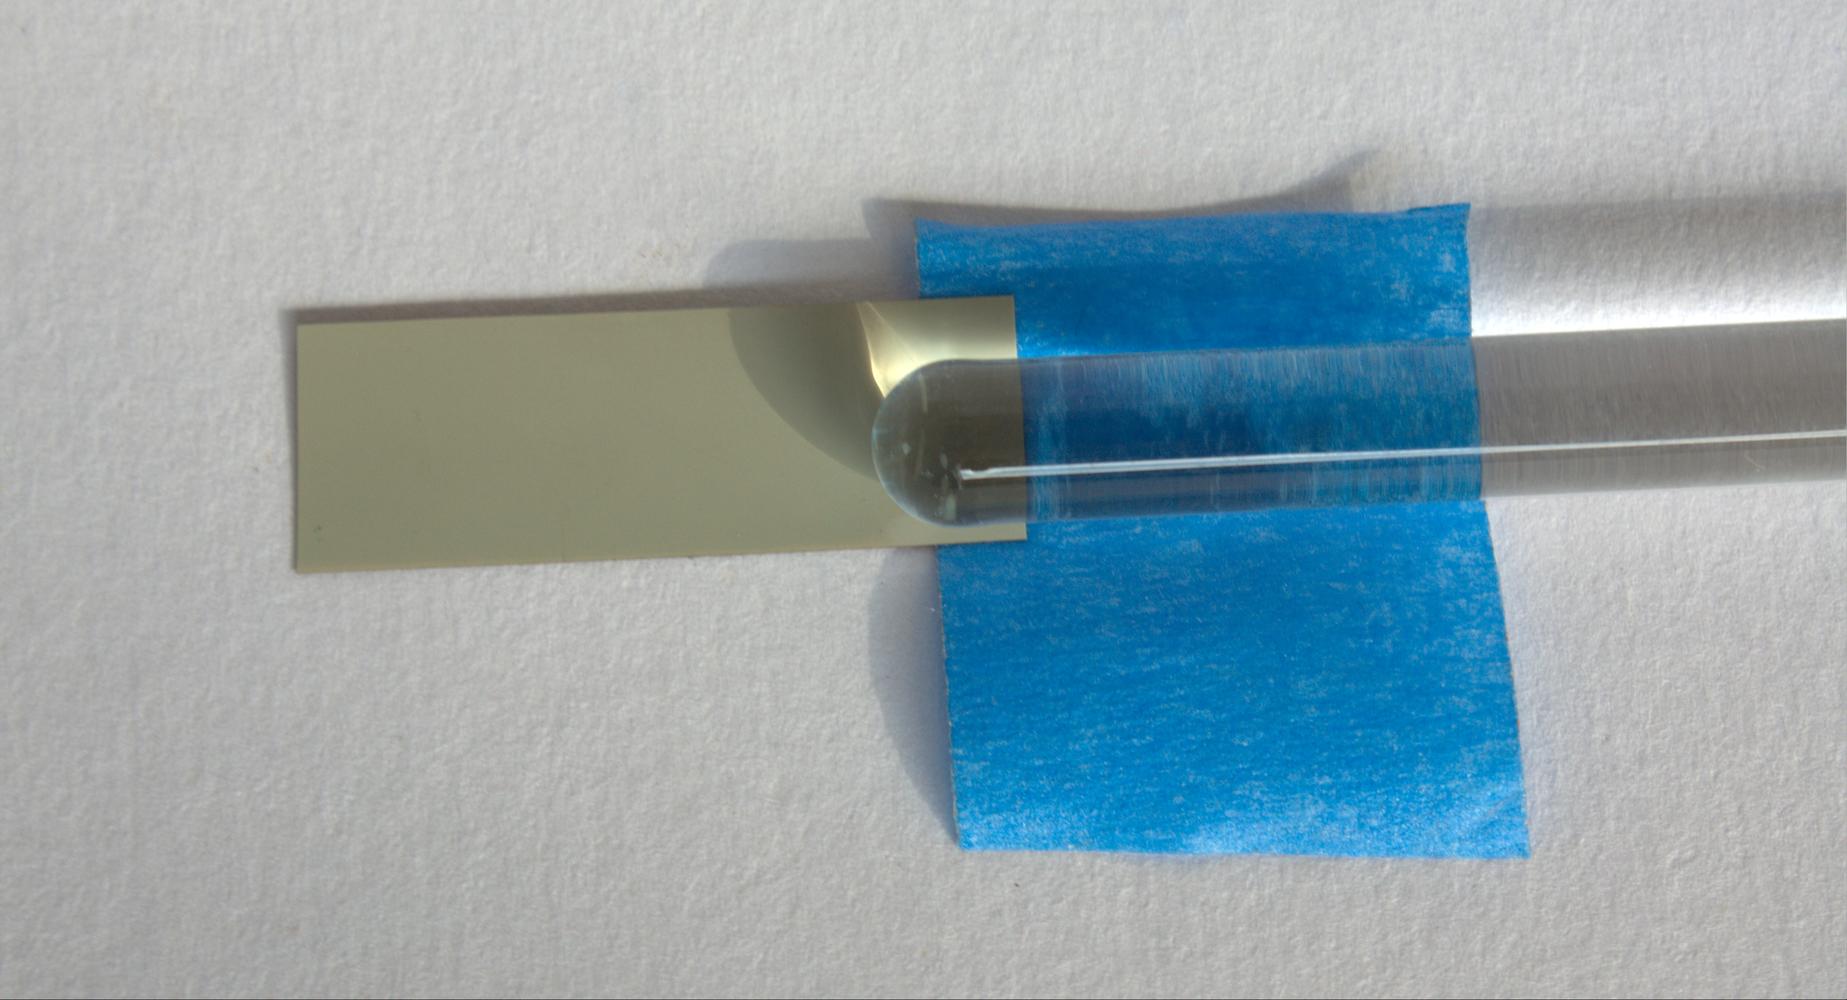
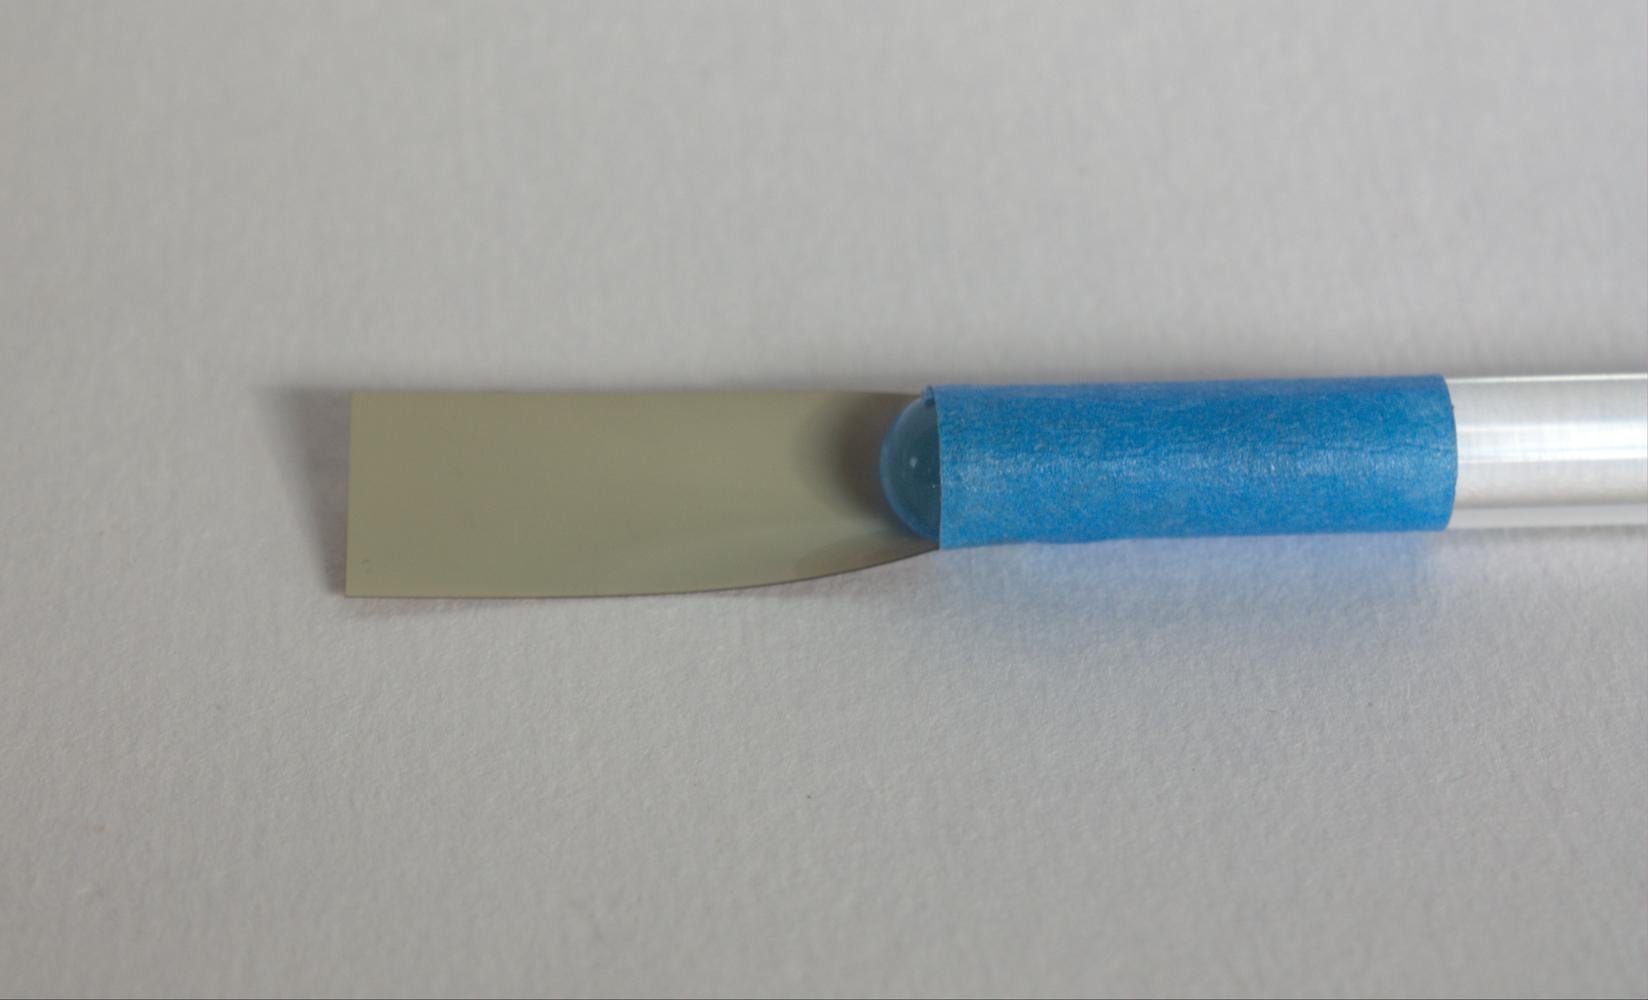
Next, pour the developer into the lab bottle. It is recommended to use the full amount of developer required to process a full roll of film. Cover the bottle with the piece of cardboard or plywood with a hole for the stirring rod. This makes it easier to see how far the rod is lowered into the developer, and helps with fixing the rod by a cloths peg if you are not using the retort stand.
Placing the rod with the film next to the bottle mark the position where the end of the film strip would just touch the developer. Using the ruler measure the available length of the strip. In our example, around 25 mm. Divide the length into the number of development times you wish to use, put the corresponding marks on the rod and number them. To test 5 development times I put 5 marks around 5 mm apart (at least, this was the plan).
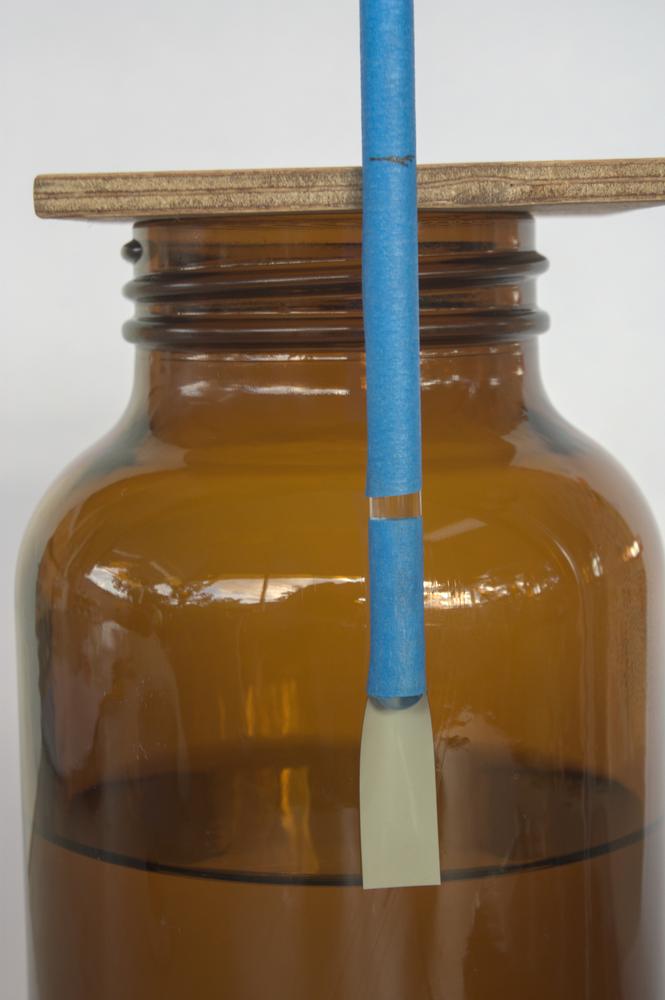
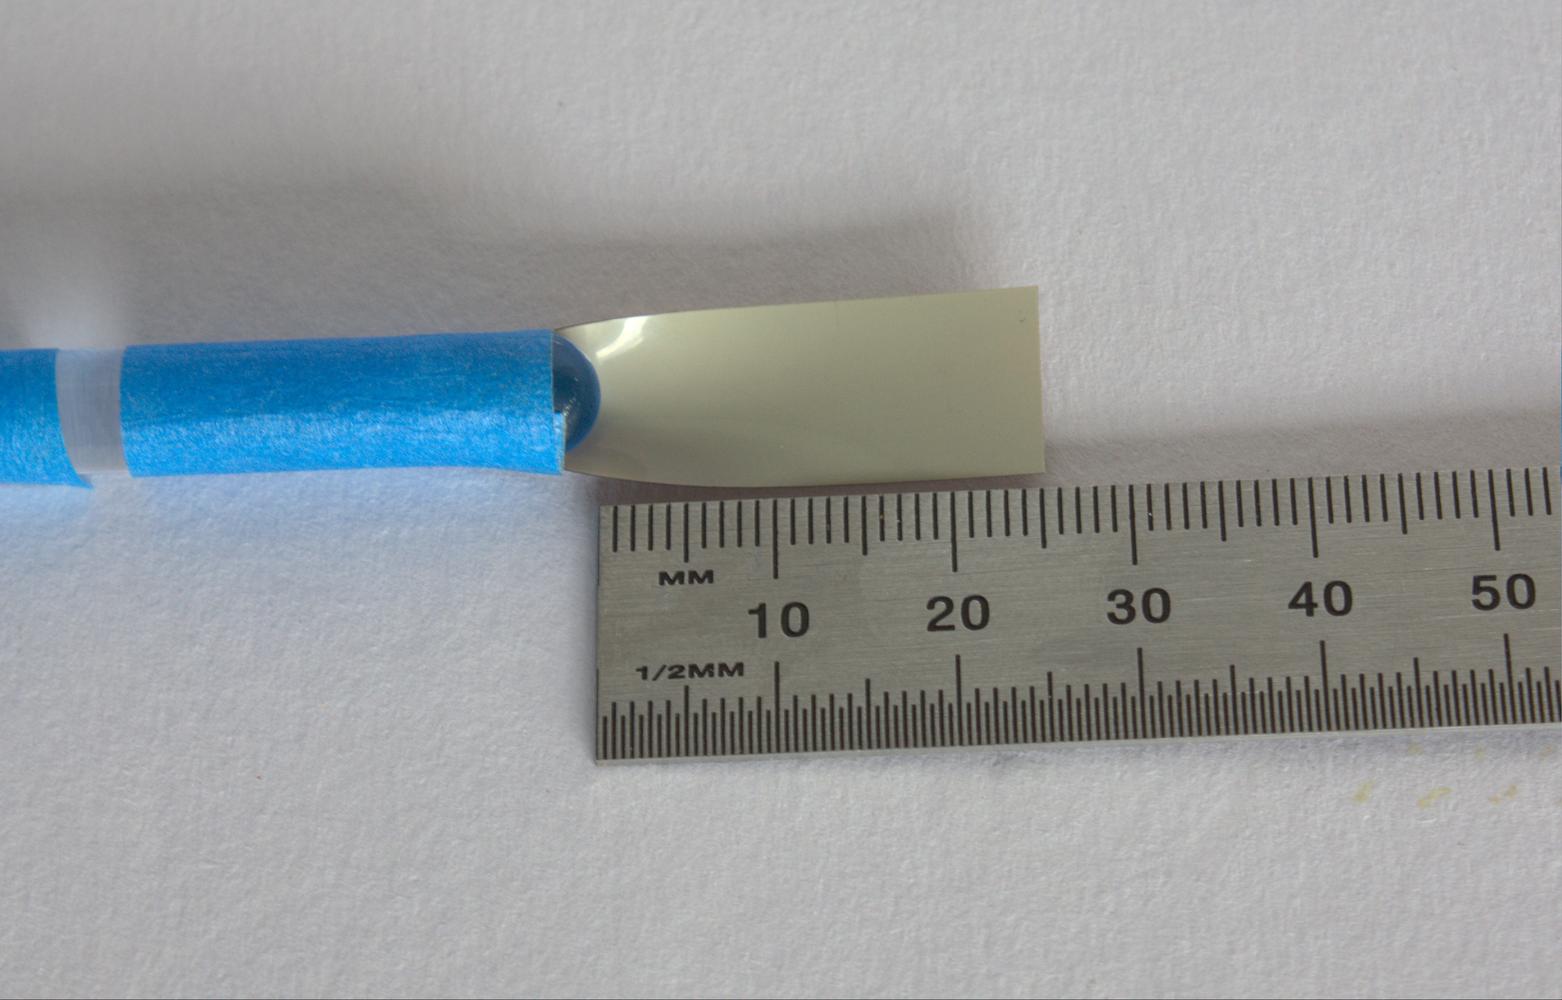
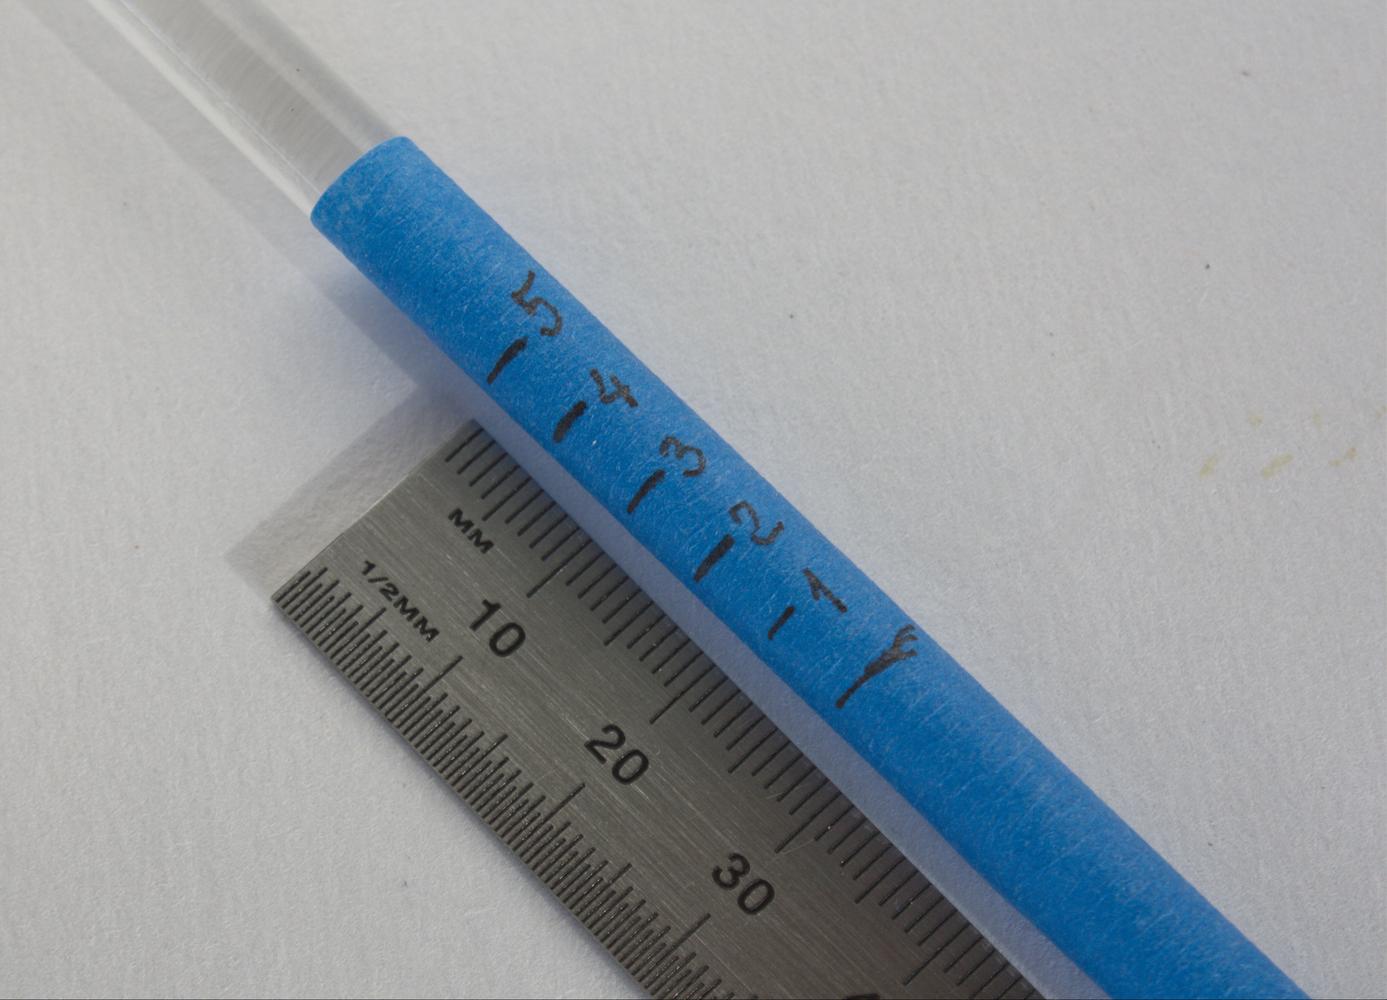
Bring the developer to the target temperature. For better accuracy you can use a water bath. While the solutions are coming to thermal equilibrium decide on the range of development time you need to test. Most commercial developers like Rodinal or HC-110 come with detailed data sheets containing approximate development times for several combinations of film, temperature and dilution. For example, development times for Kodak HC-110 in dilution B (1:31) at 18 °C range from 8 minutes for T-MAX 100 Professional to 4 minutes (Professional Plus-X 125).
In our example we will be using development times from 4 to 8 minutes. Thus, we need to first lower the rod into the developer and keep it for 1 minute at position 1; then, lower it to position 2 and keep it for another minute, and continue till we reach position 5 at which we will develop for 4 minutes.
Agitation
Agitation is an important part of the development process, and during the snip test we want to model agitation regime as close as possible to the normal development. To simulate agitation, slowly move the rod with the film for the specified amount of time or move the container with the developer if it is more convenient in your setup. Choose a method of agitation (left to right; front and back; in circles or figure of eights) and stick to it.
Processing
Get your setup and timer ready, lower the rod to the first depth mark (position 1) and start the timer. Remember to agitate per your selected method.
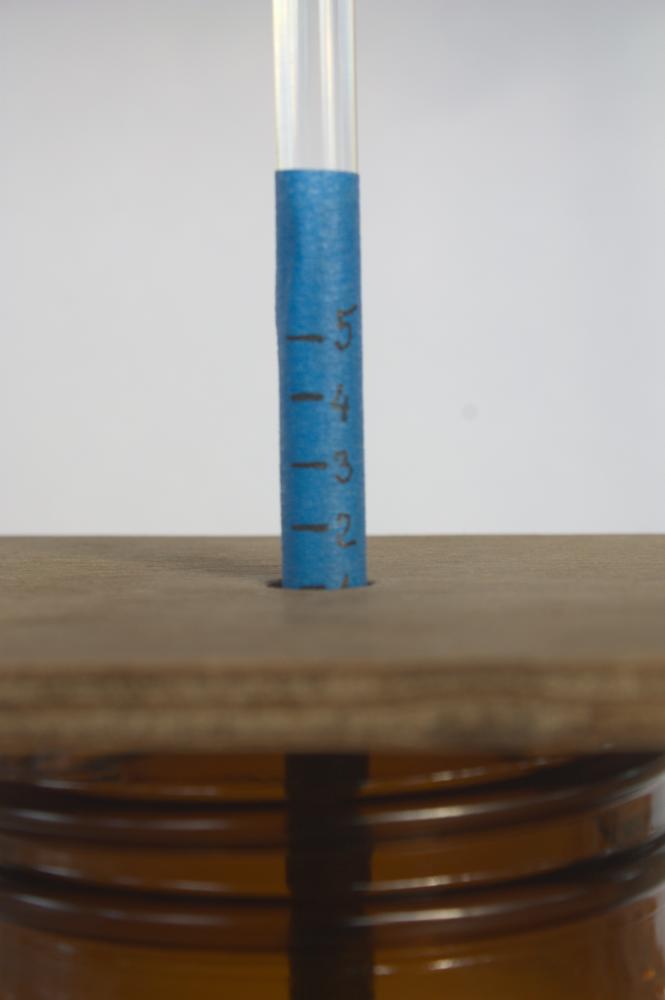
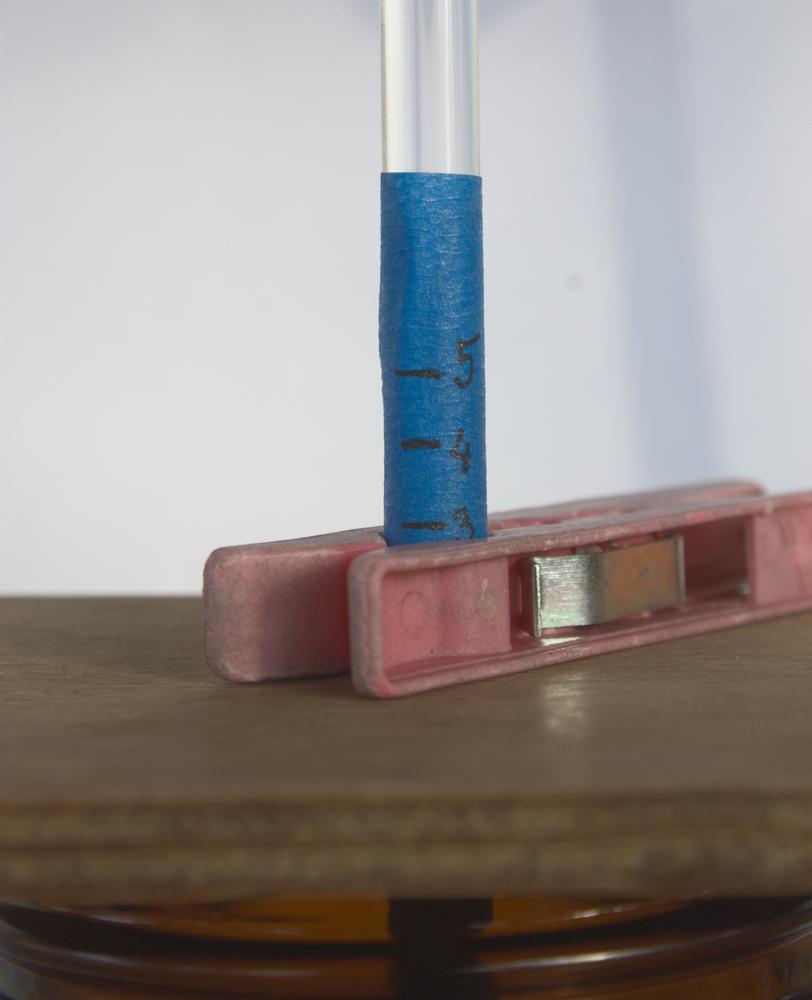
When not using a retort stand a cloths peg can be pressed into service to secure the rod.
At the end of the first minute, move the rod to position 2, agitate and wait for another minute. Continue till you reach the final position (5 in the example) and keep it there for the minimum development time you wish to test (e.g. 4 minutes). Agitate at the start of each minute if this is what you normally do. When the time elapses, stop the development using a stop bath, a water wash or put the film straight into the fixer.
Start the timer after placing the film into the fixer. Note the time required for the film to fully clear and fix for twice the clearing time. Wash the film under running water or by Ilford method in three changes of water agitating for 15, 30 and 60 seconds, respectively (this is equivalent to 5, 10 and 20 tank inversions). To speed-up drying wash the film in 40% to 70% ethanol solution.
Evaluation
Placed on the light table or viewed against a light source the developed strip should look like this.

The lightest patch was developed for the shortest time (4 minutes), the next for 5 minutes and so on.
To determine optimal development time we need to choose the patch with the right density. There are several options here. If you have access to a densitometer and made the patches large enough (4-6 mm) you can measure negative density and pick the time corresponding to the density value around 1.8 or 2.0. Alternatively, you can use a transmission step wedge as a reference and visually estimate the density or take a photo of the step wedge together with the developed strip on the light table. You can then open the file in an image editing application and measure the levels. It is a good idea to mask the light source and the low-density part of the step wedge to improve the accuracy of the measurements. This approach is recommended if the colour of the developed strip differs from that of the step wedge, making visual comparison less reliable.
Finally, with a bit of practice you can pick the development time by visually inspecting the test strip. Human eye is not very good at detecting differences between high-density patches. Thus, when viewed against light the dark patches would appear to have similar density. The first or second patch having a noticeably lighter density corresponds to correct development time. In the figure above you would choose the density between the second (5 minutes) and the third (6 minutes) patch on the right. In practice, either 5 or 6 minutes development time would produce a good quality negative.
Real Examples
The method described above was used to process two rolls of type 127 Kodak Verichrome film with develop-before dates of November 1946, and February 1946. These rolls were developed in HC-110 at 6°C for 10 minutes. Kodak Super-XX in type 127 was developed for 11 minutes at 4°C in the same developer. Type 116 roll of Kodak Plus-X from the 40s or 50s was developed in HC-110 (B) for 6 minutes and 30 seconds at 19°C.
When to use Snip Tests
The snip tests are best suited for developing unknown films. These could include obscure brands like Atlas or Var-i-Pan that resold film manufactured by Agfa, Gevaert and Perutz. "Mystery" 35 mm film found in reloadable cassettes is another good use-case.
Roll film from leading manufacturers can usually be identified and processed according to the original recommendations or data available from reliable sources like text books and periodicals. For many decades the British Journal of Photography published an annual Almanac that contained a section on film development. This is always my preferred approach even when it requires mixing a developer from the raw chemicals.